Introducing
This is my final project for of HCDE 539 - Physical Computing & Prototyping, a graduate level course in Human Computer Interaction with University of Washington's Human Centered Design & Engineering program.
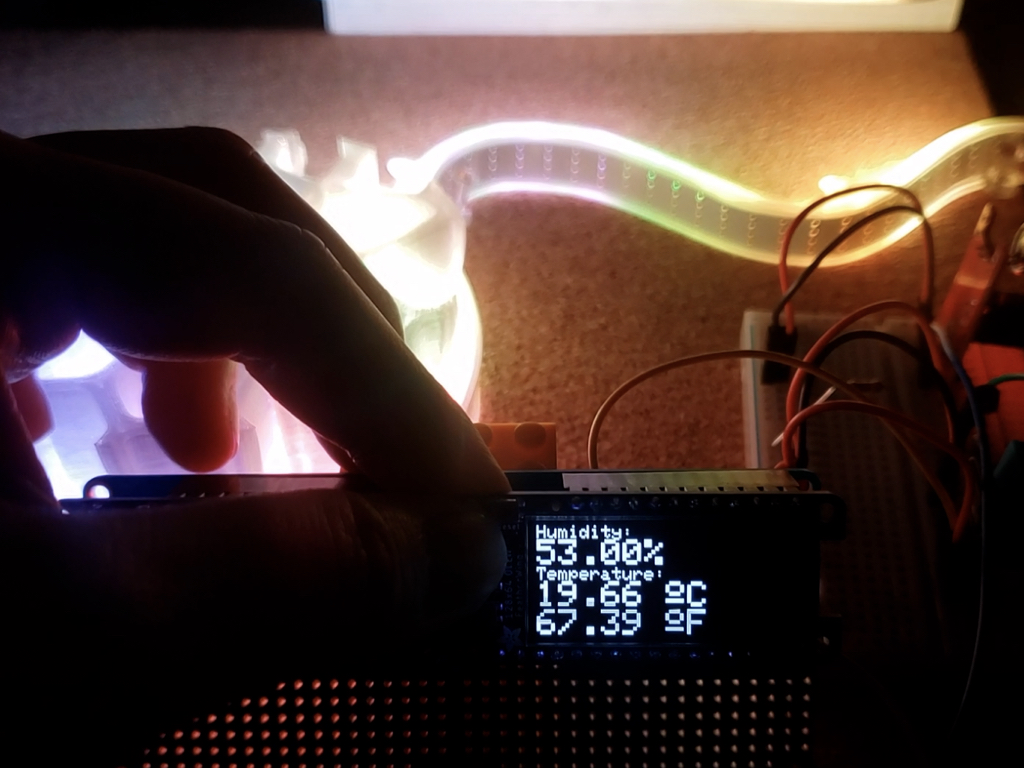
I built a physical prototype of Mossi, a sound reactive, 3D printed terrarium that displays temperature, humidity and luminosity. The sound responds with light, and helps track breathing techniques using LED lights.
For the prototype I used the following, Arduino IDE, Adafruit Feather M4 microcontroller, Adafruit FeatherWing OLED 128x 34 display, KY-038 (sound sensor), DHT11 (temperature & humidity sensor), photo cell (CdS photoresistor), and a Dotstar LED strip. The 3D printed base was created using Autodesk Fusion 360, and Prusa Mini.
Designer & Engineer
Arduino
Autodesk Fusion 360
Fritzing
Soldering Iron
Prusa Mini
Sept - Dec 2021
(10 weeks)
n/a (solo project)

Mossi is a terrarium that tracks humidity, temperature, and light intensity in the home. This Arduino prototype also serves as a feedback loop for breathing techniques by increasing the illumination of the LEDs, the longer you exhale. Long exhalations are known to decrease heart rate, helps regulate the parasympathetic nervous system, and lowers stress/ anxiety levels. The goal was to create a positive feedback response by validating each exhale with a light show.
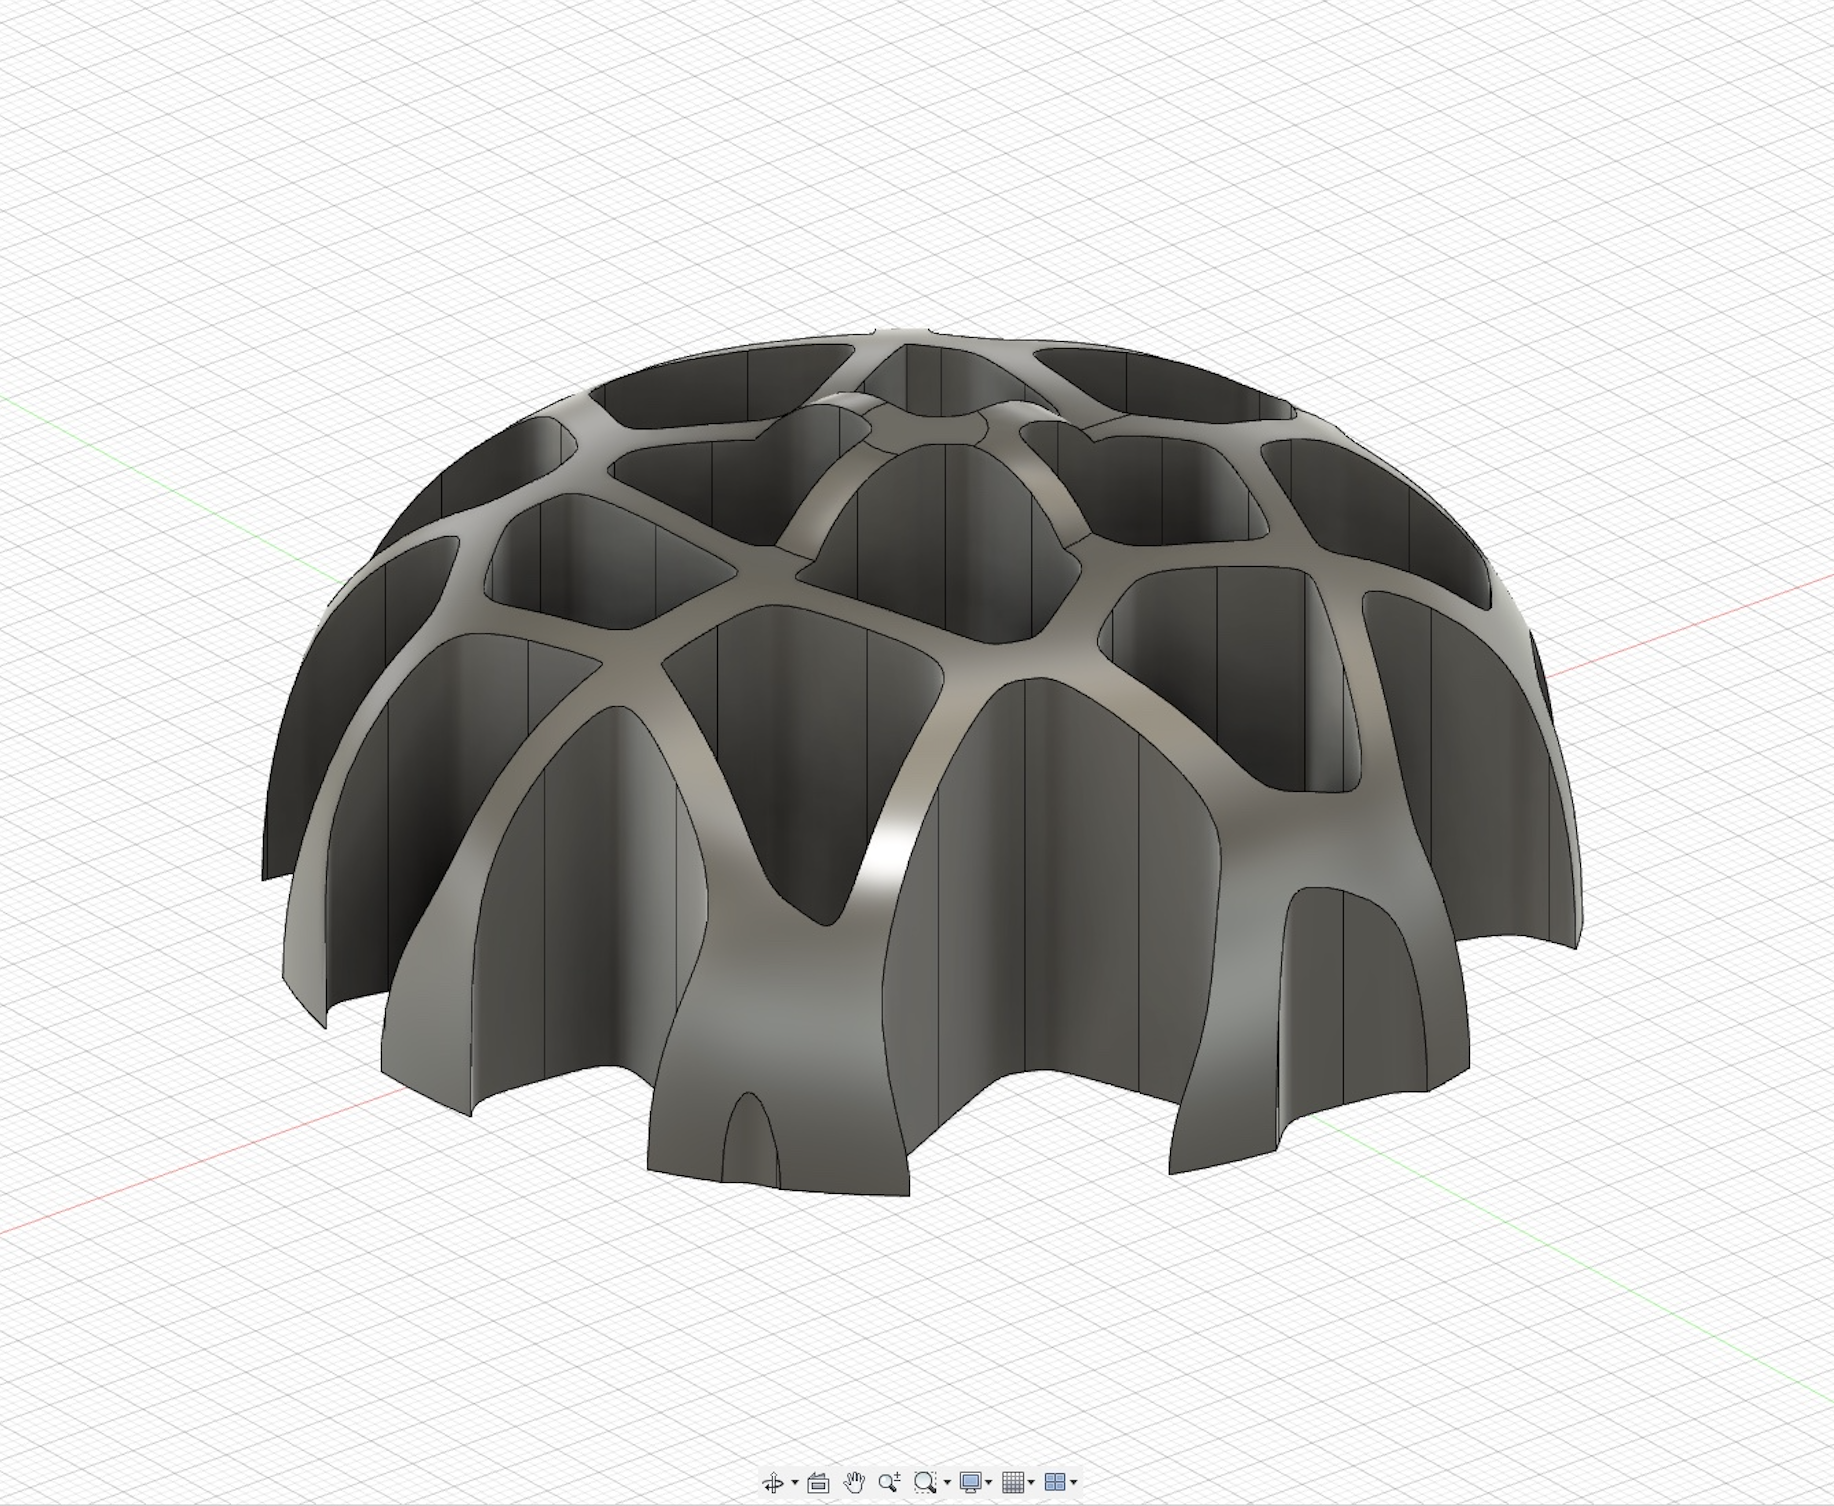
I used a KY-038 sound sensor module to track respiration & sound as the first input. A DHT11 sensor for the temperature and humidity for the second, & a Cds photoresistor to track the light intensity. For the moss incubator, I designed and 3D printed a structure to hold various species of moss using a Vornoi mesh to achieve a more organic look and feel.
generative research
explore sensors
explore actuators
research potential libraries
define project goal
finalize hardware, software, and physical components
initial sketches for 3d printed base + hardware
test microcontroller, sensor, and actuators
build 3d model on Fusion360
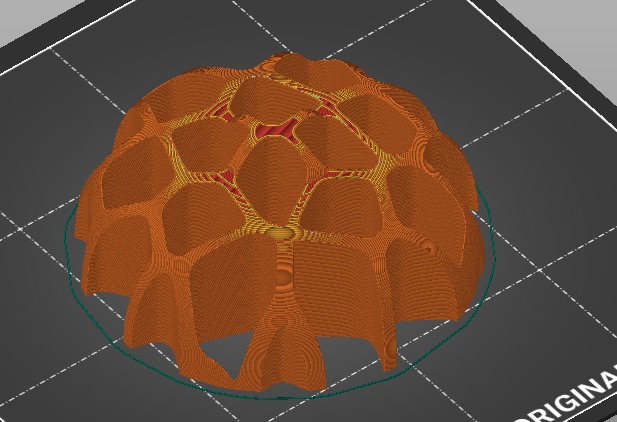
print 3D printed base
assemble sensors and actuators
complete prototype
I wanted to create something that incorporated physical prototyping and the natural world.
I experimented with two microcontrollers, the Adafruit ESP32 and Feather M4. At first I wanted to incorporate a wireless component. However, due to time constraints, I settled with the Feather M4 to focus on the main functionalities during the first iteration, and plan on adding a wireless component for the next iteration

KY038
Sound Sensor
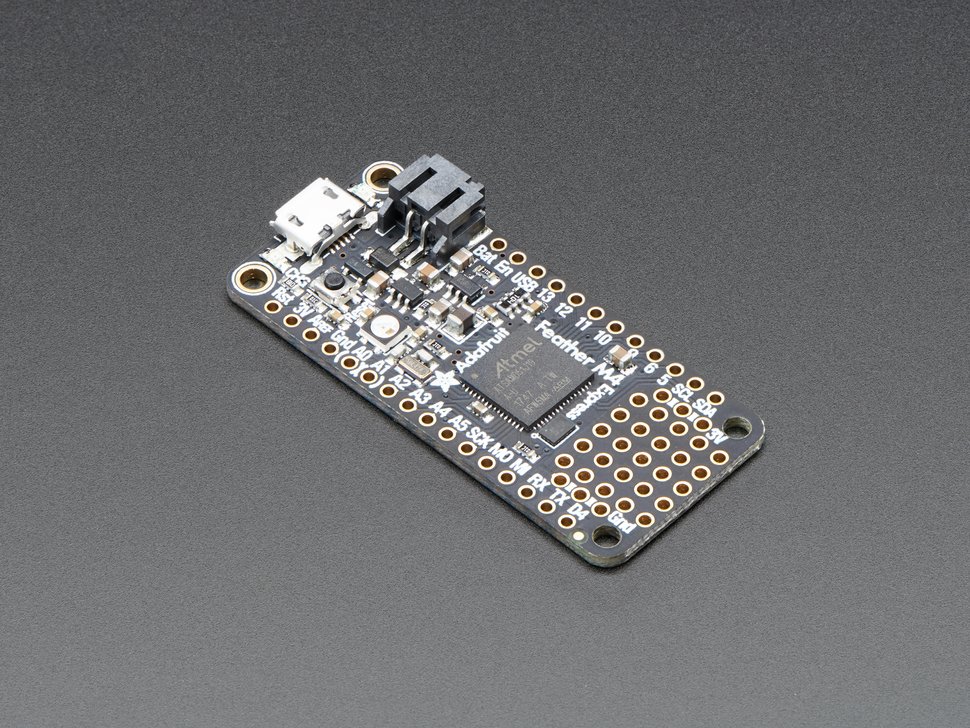
Adafruit Feather M4
Microcontroller
This Arduino prototype serves as a feedback loop for breathing techniques by increasing the illumination of the LEDs, the longer you exhale. Long exhalations are known to decrease heart rate, helps regulate the parasympathetic nervous system, and lowers stress/ anxiety levels. The goal was to create a positive feedback response by converting each exhale or tone with corresponding illumination of LED lights.
The secondary goal is to build a feature for environmental sensemaking. The purpose of Mossi aside from merging the natural world with physical prototyping is to track the current conditions in keeping the natural components (ie moss), alive and vibrant.
Hardware
Temperature & Humidity Sensor
Photoresistor
Sound Sensor
OLED
LED
Software
Arduino
Physical Components
3D printed dome structure
Moss
Enclosure
In addition, I tested the libraries for the various sensors and actuators that are written in Arduino. I also experimented with the OLED display, LED strip, temperature and humidity sensor and the photoresistor on a breadboard. Soldered pins on the Feather M4, and stacked it to a quad FeatherWing, along with the OLED display and sensors.
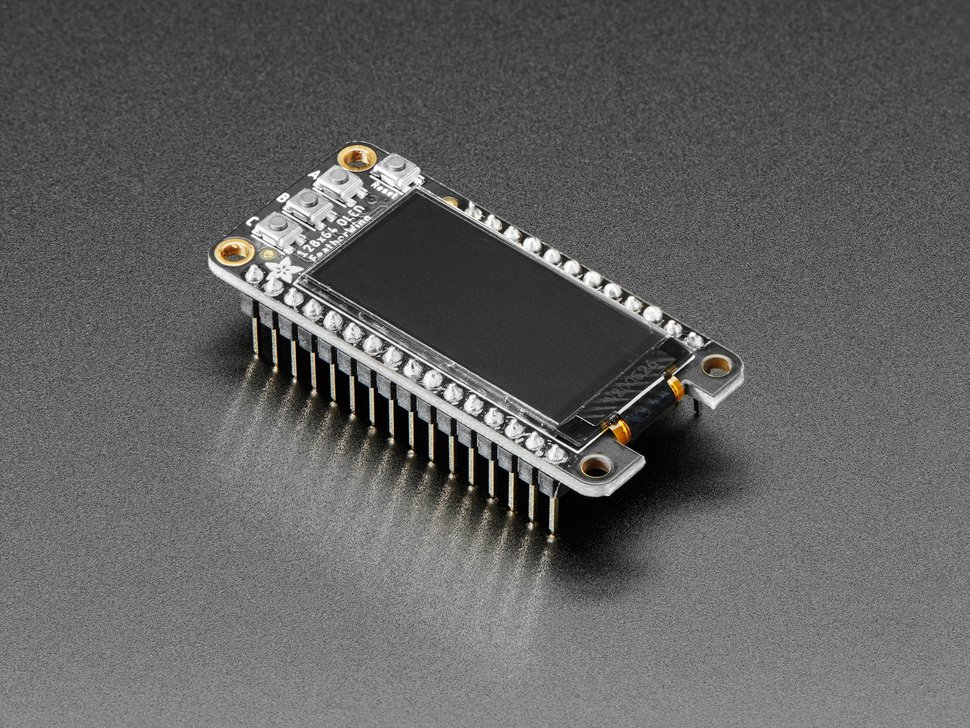
FeatherWing 128x34 OLED
Input / Display
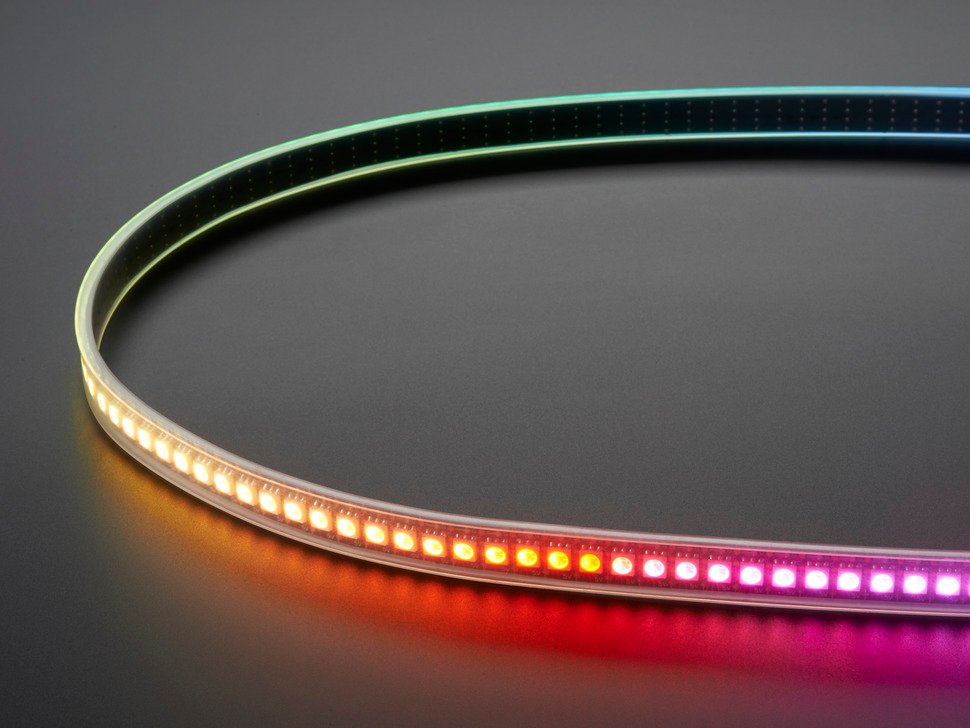
Dotstar Strip
LED
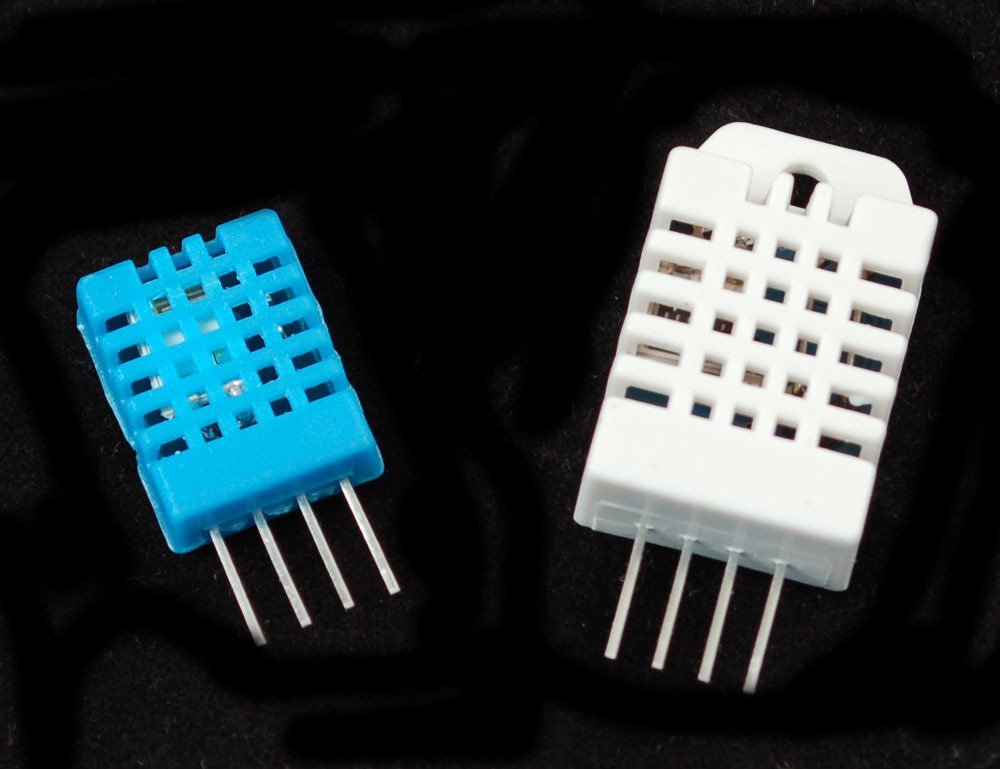
DHT11
Temperature & Humidity
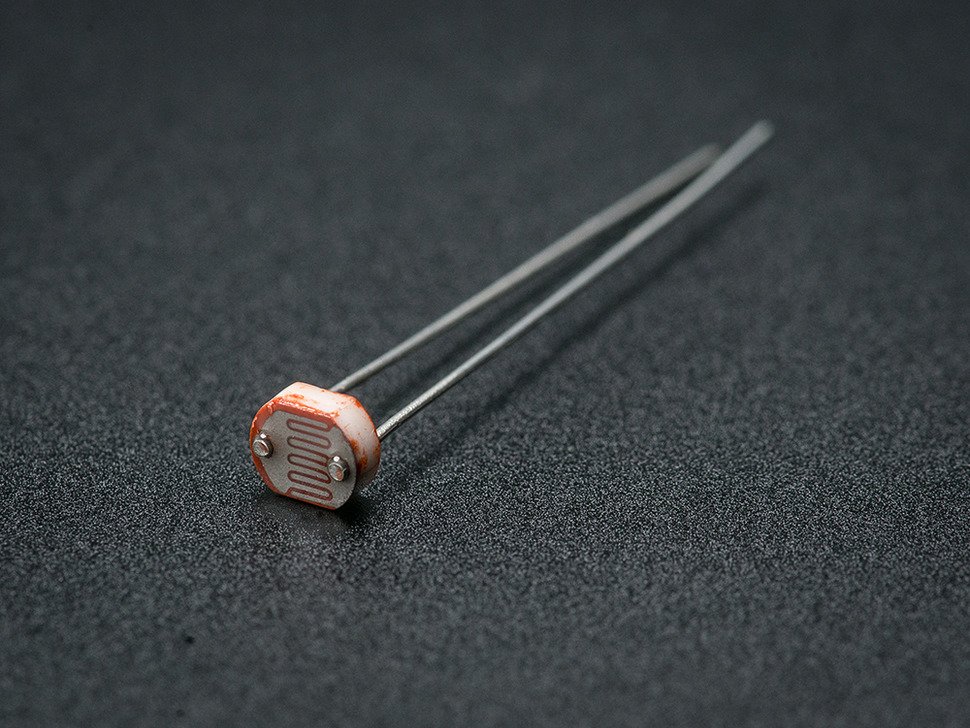
Photoresistor
Light Levels
OLED
LED
Temperature & Humidity
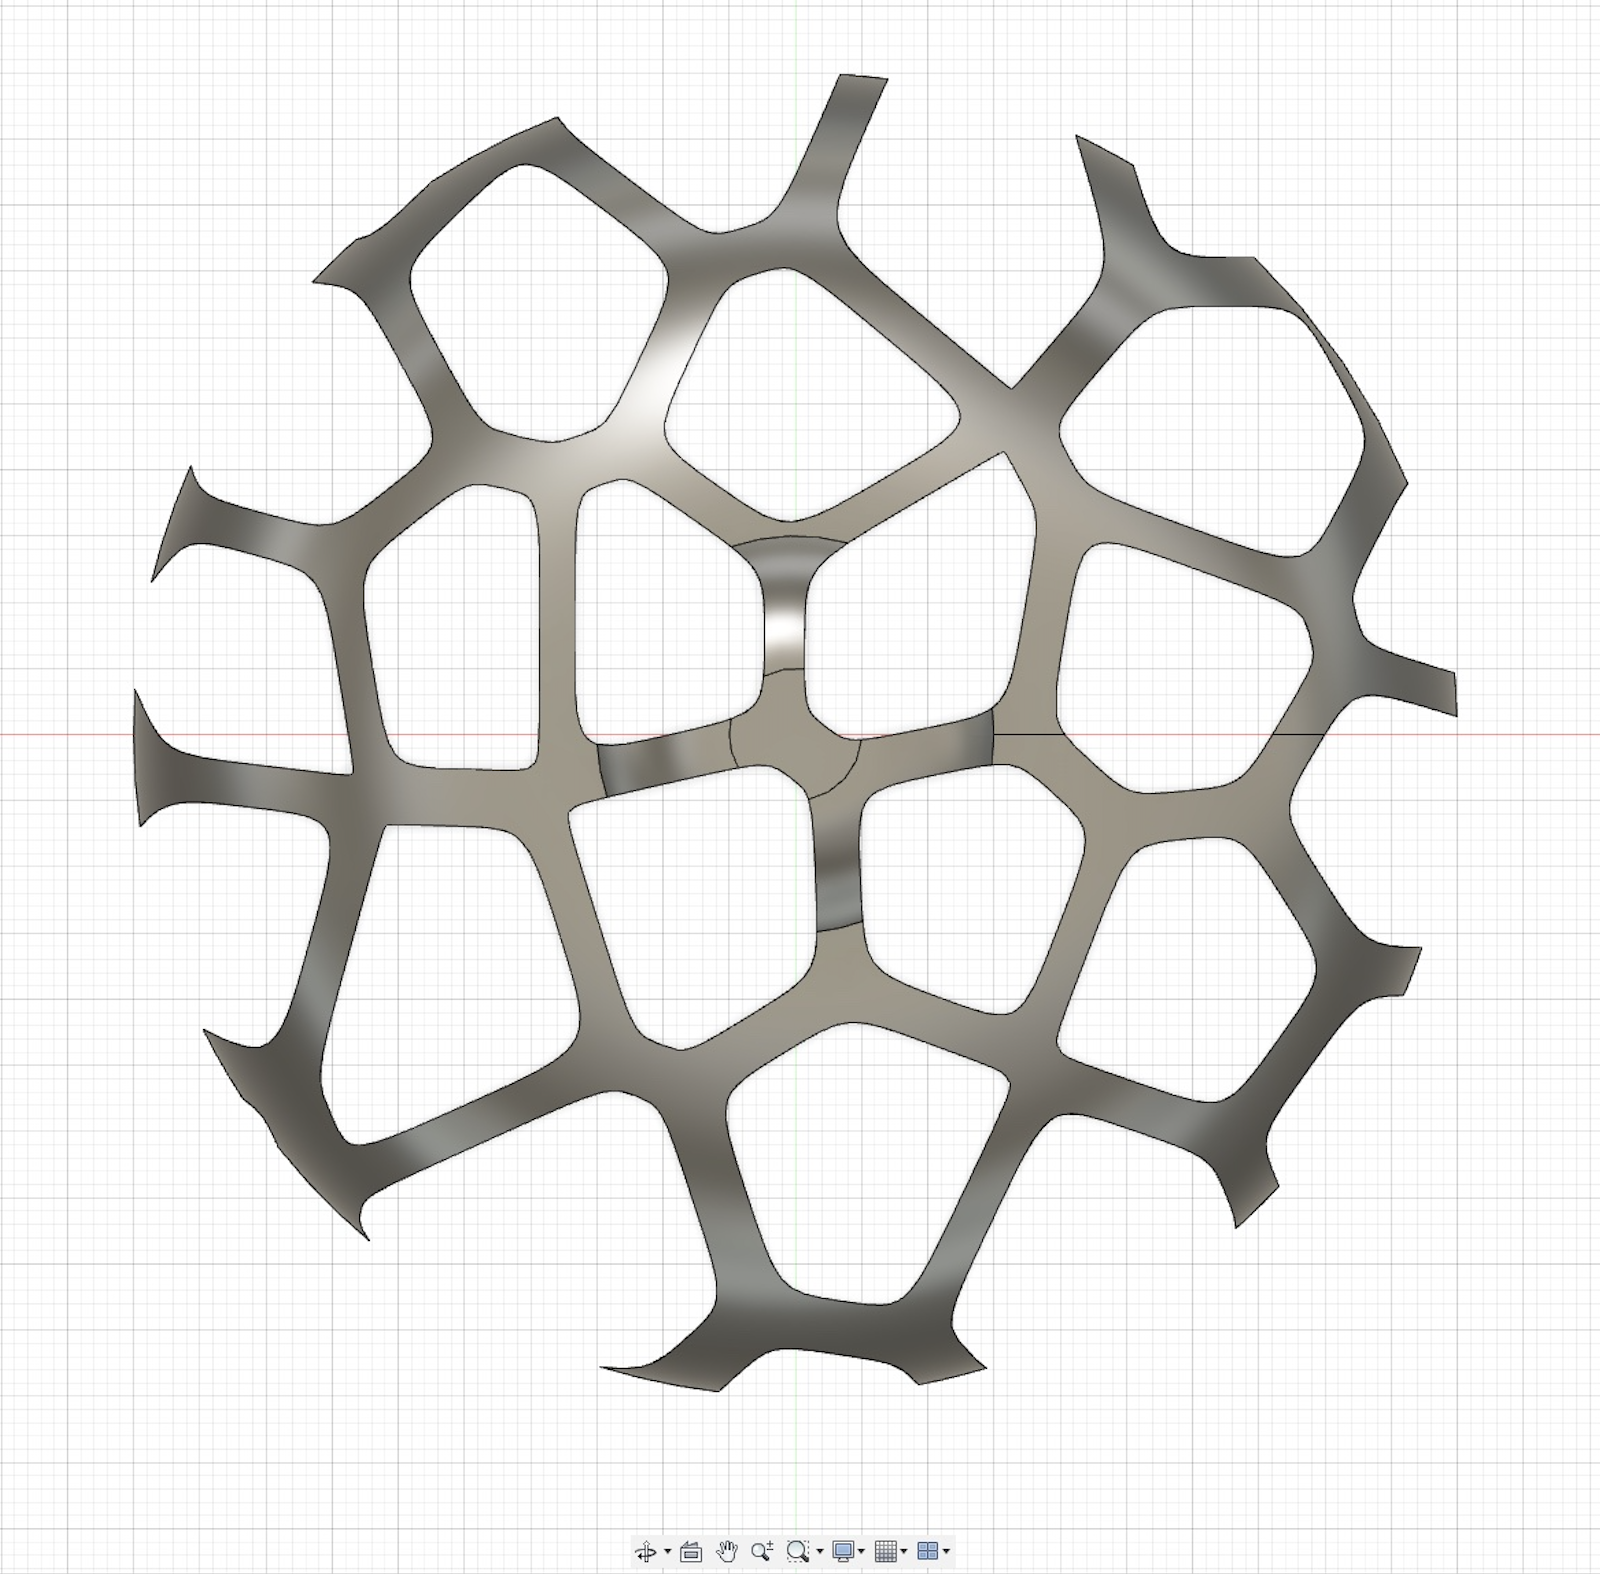
I used a vornoi pattern to emulate an organic look for the terrarium base, and to maximize the surface areas where moss can be inserted. I then transferred that pattern to Fusion 360, and incorporated it on the surface of a half dome.
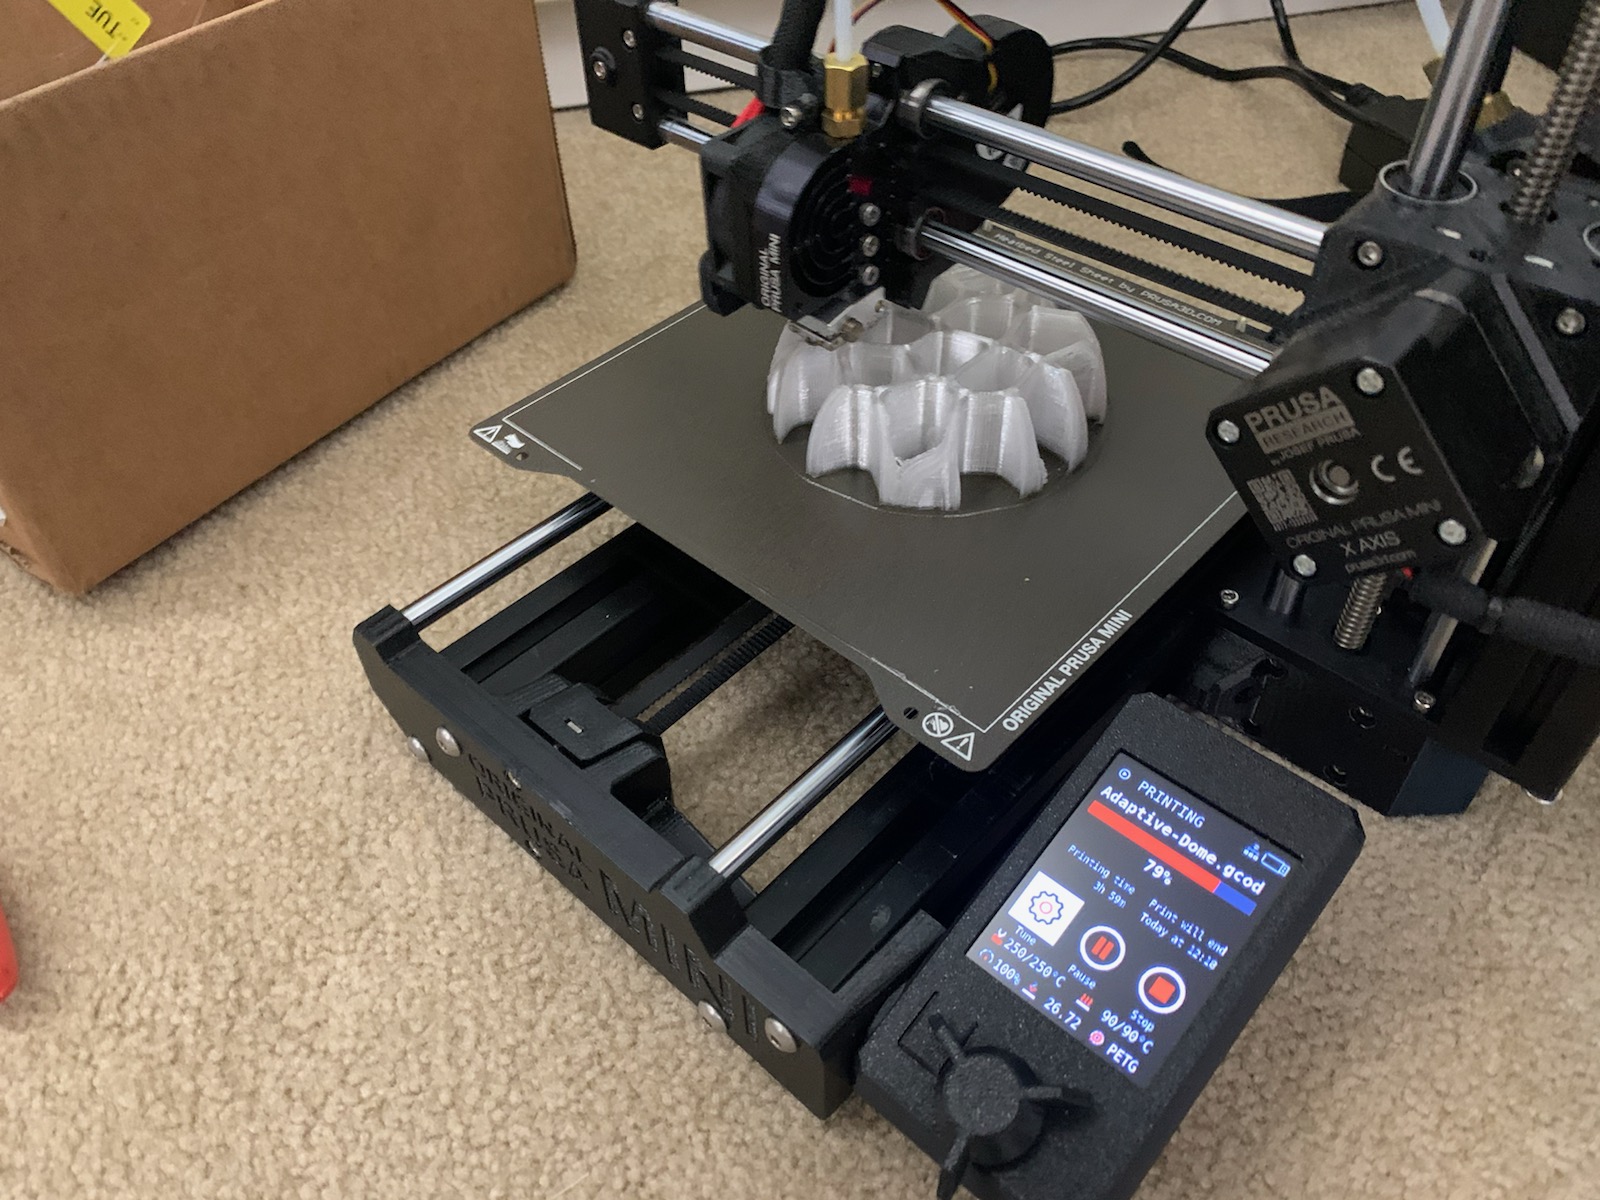
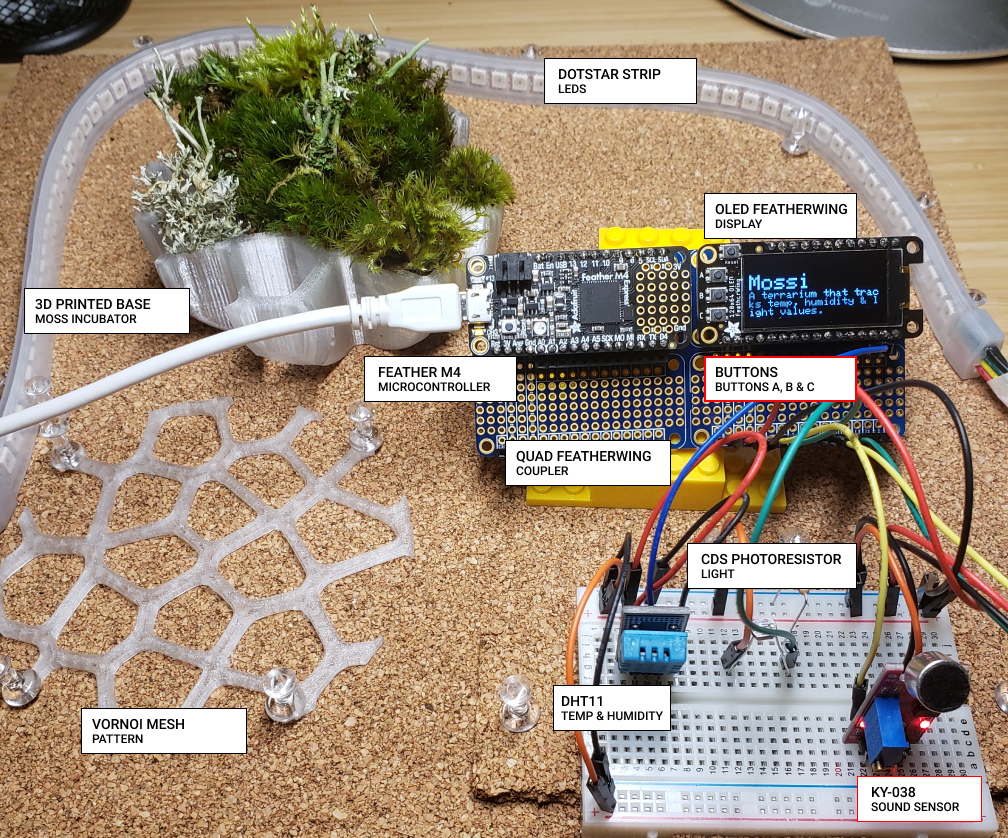
After finishing the physical components of printing the moss base, I gathered moss from my local park. Finally, I assembled the moss, physical components and hardware on a cork board to complete the layout of the final prototype.
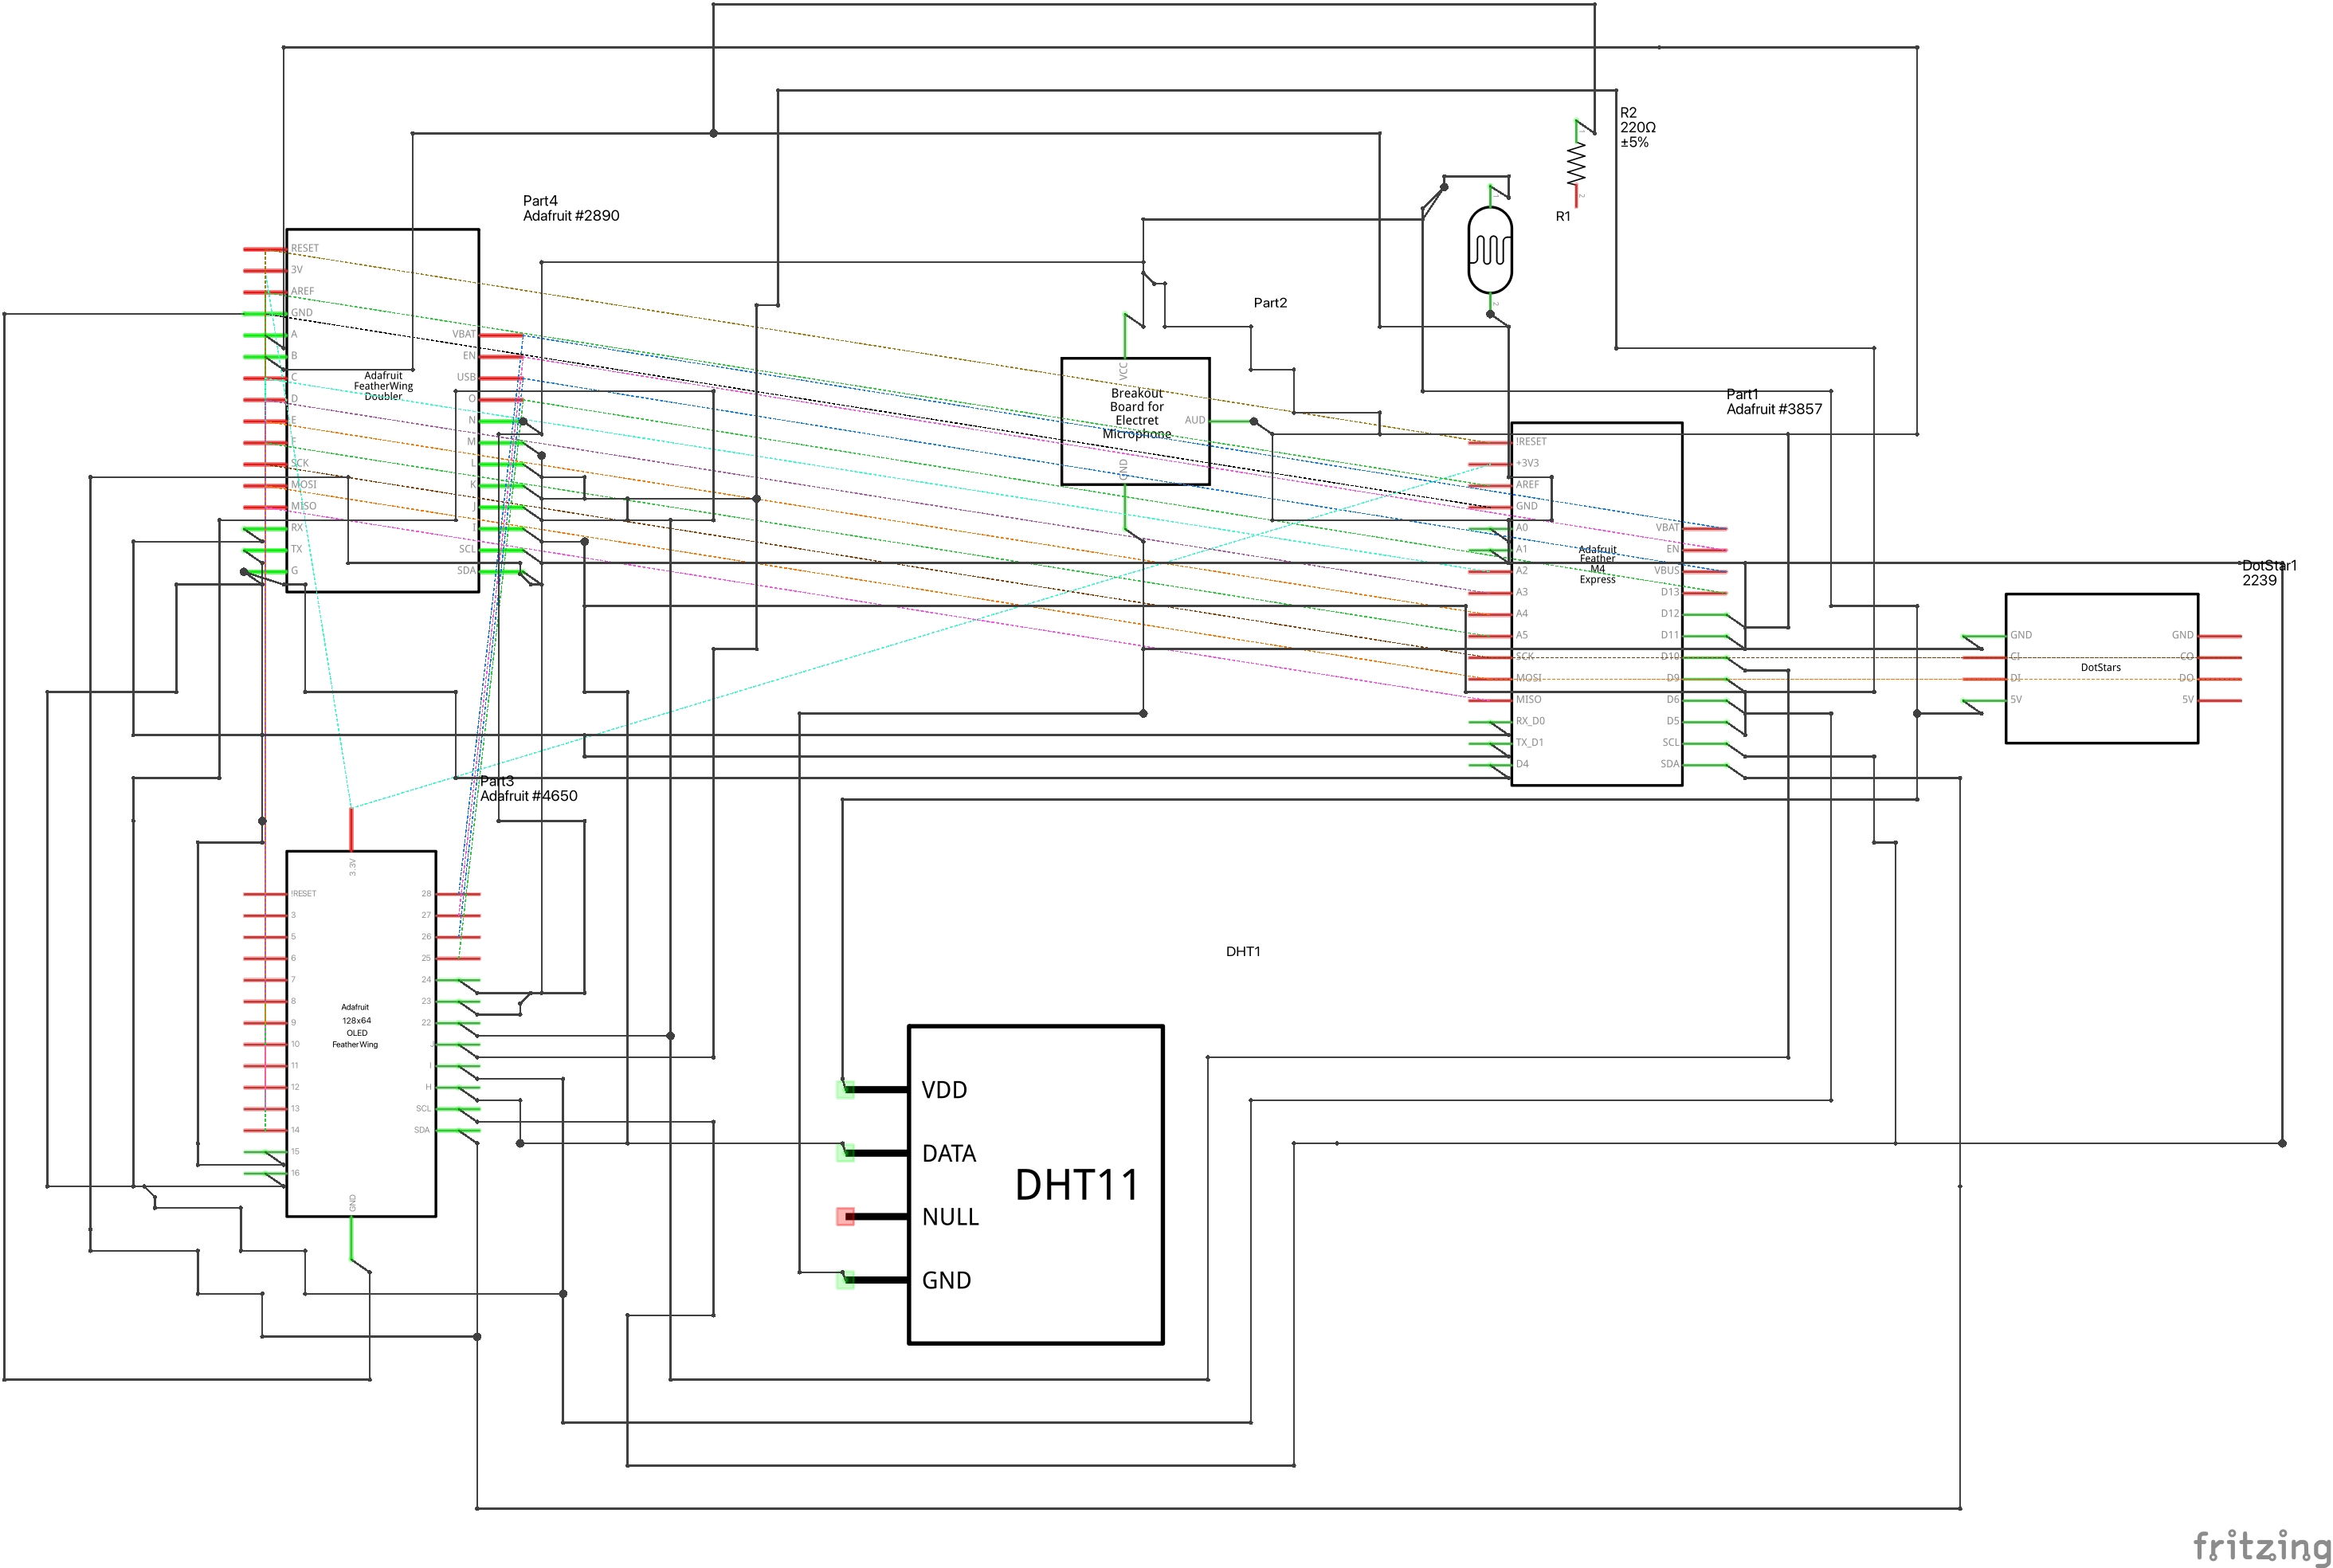
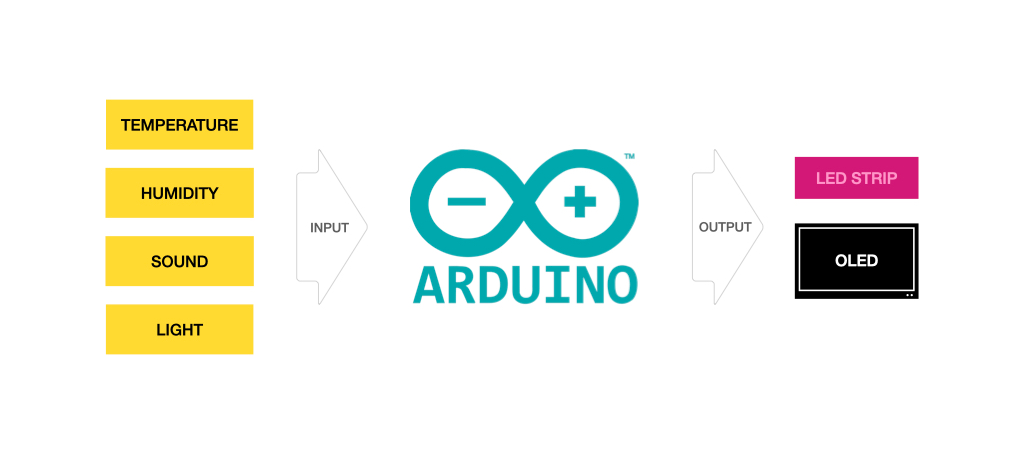
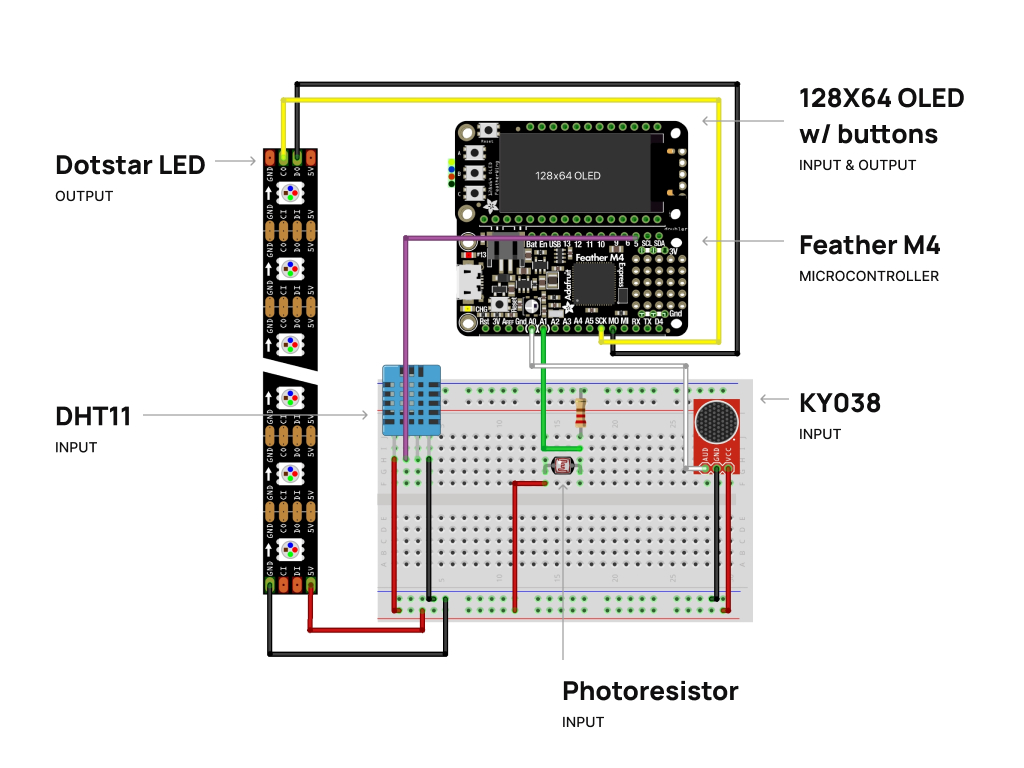
Here's view of the system components and breadboard. The system component diagram illustrates how the input and output components will interact with the software. The breadboard illustrates the physical setup of the hardware used in the prototype.
Press Button B next to the OLED screen to clear the welcome screen.
Press Button A to view the temperature & humidity.
Press Button B again to clear the screen.
Press Button C to view the light intensity.
Practice breathing exercises (inhale/exhale) into the sound sensor or play music to activate the LED strip.
my projects
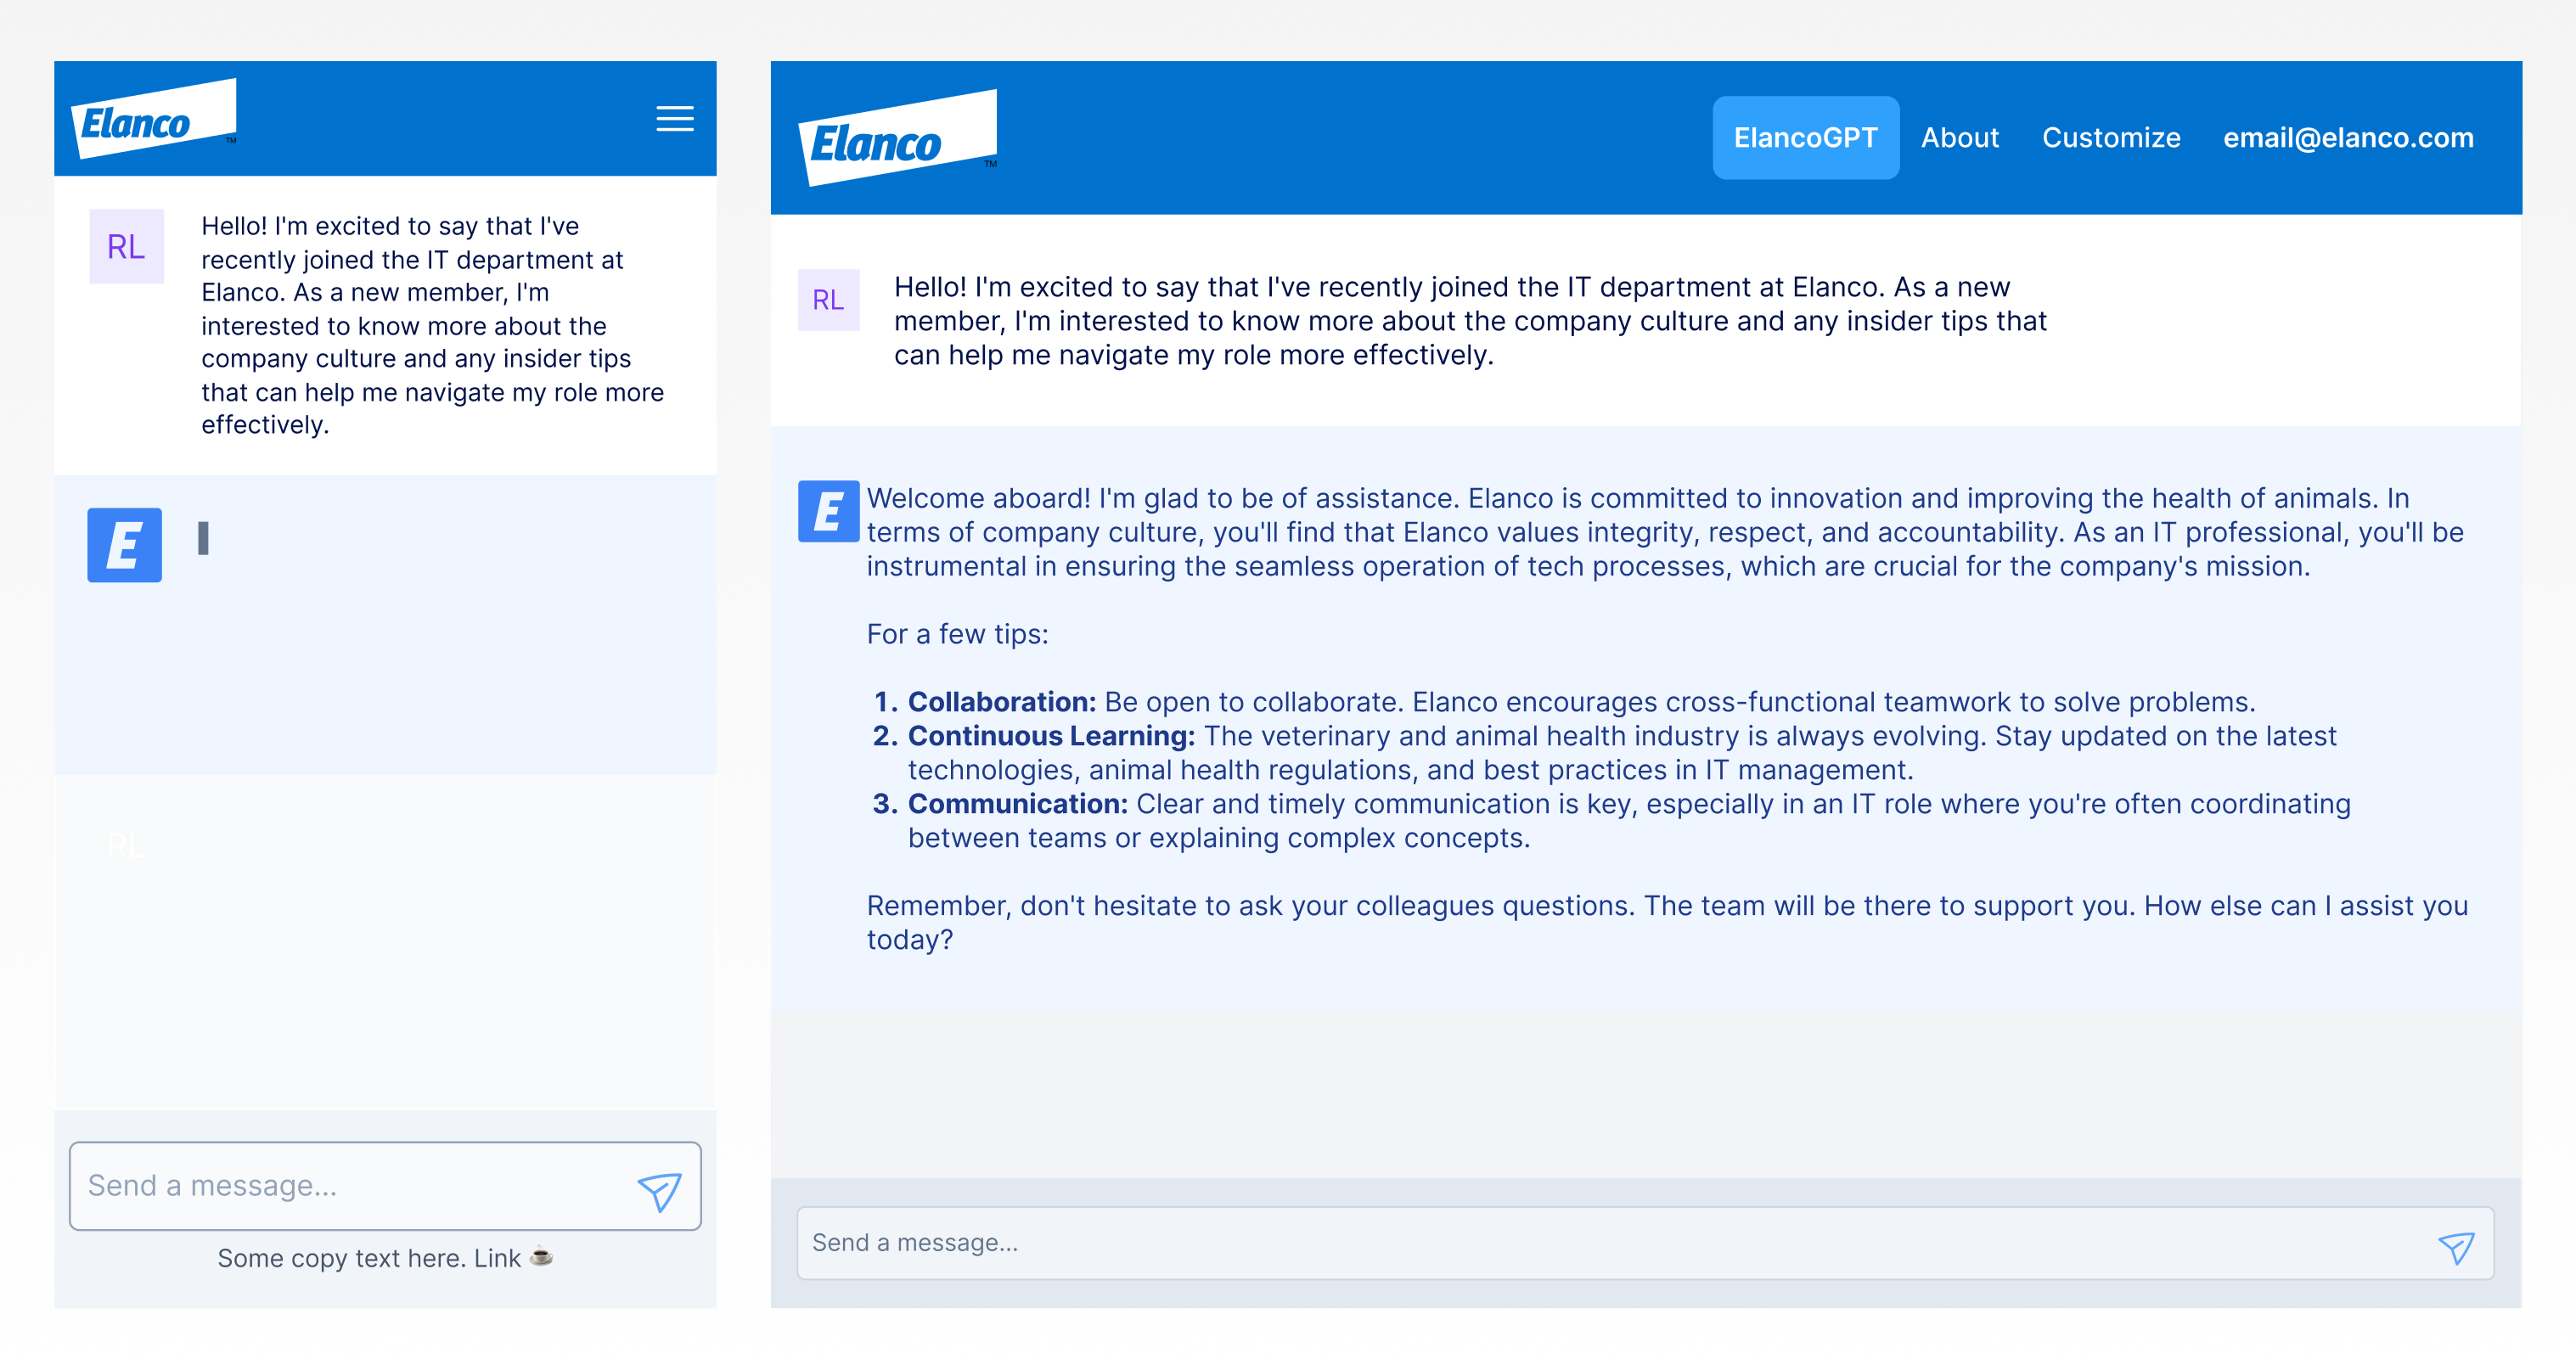
ElancoGPTML/AI, Design System, Enterprise, Decision Support, Zero to One
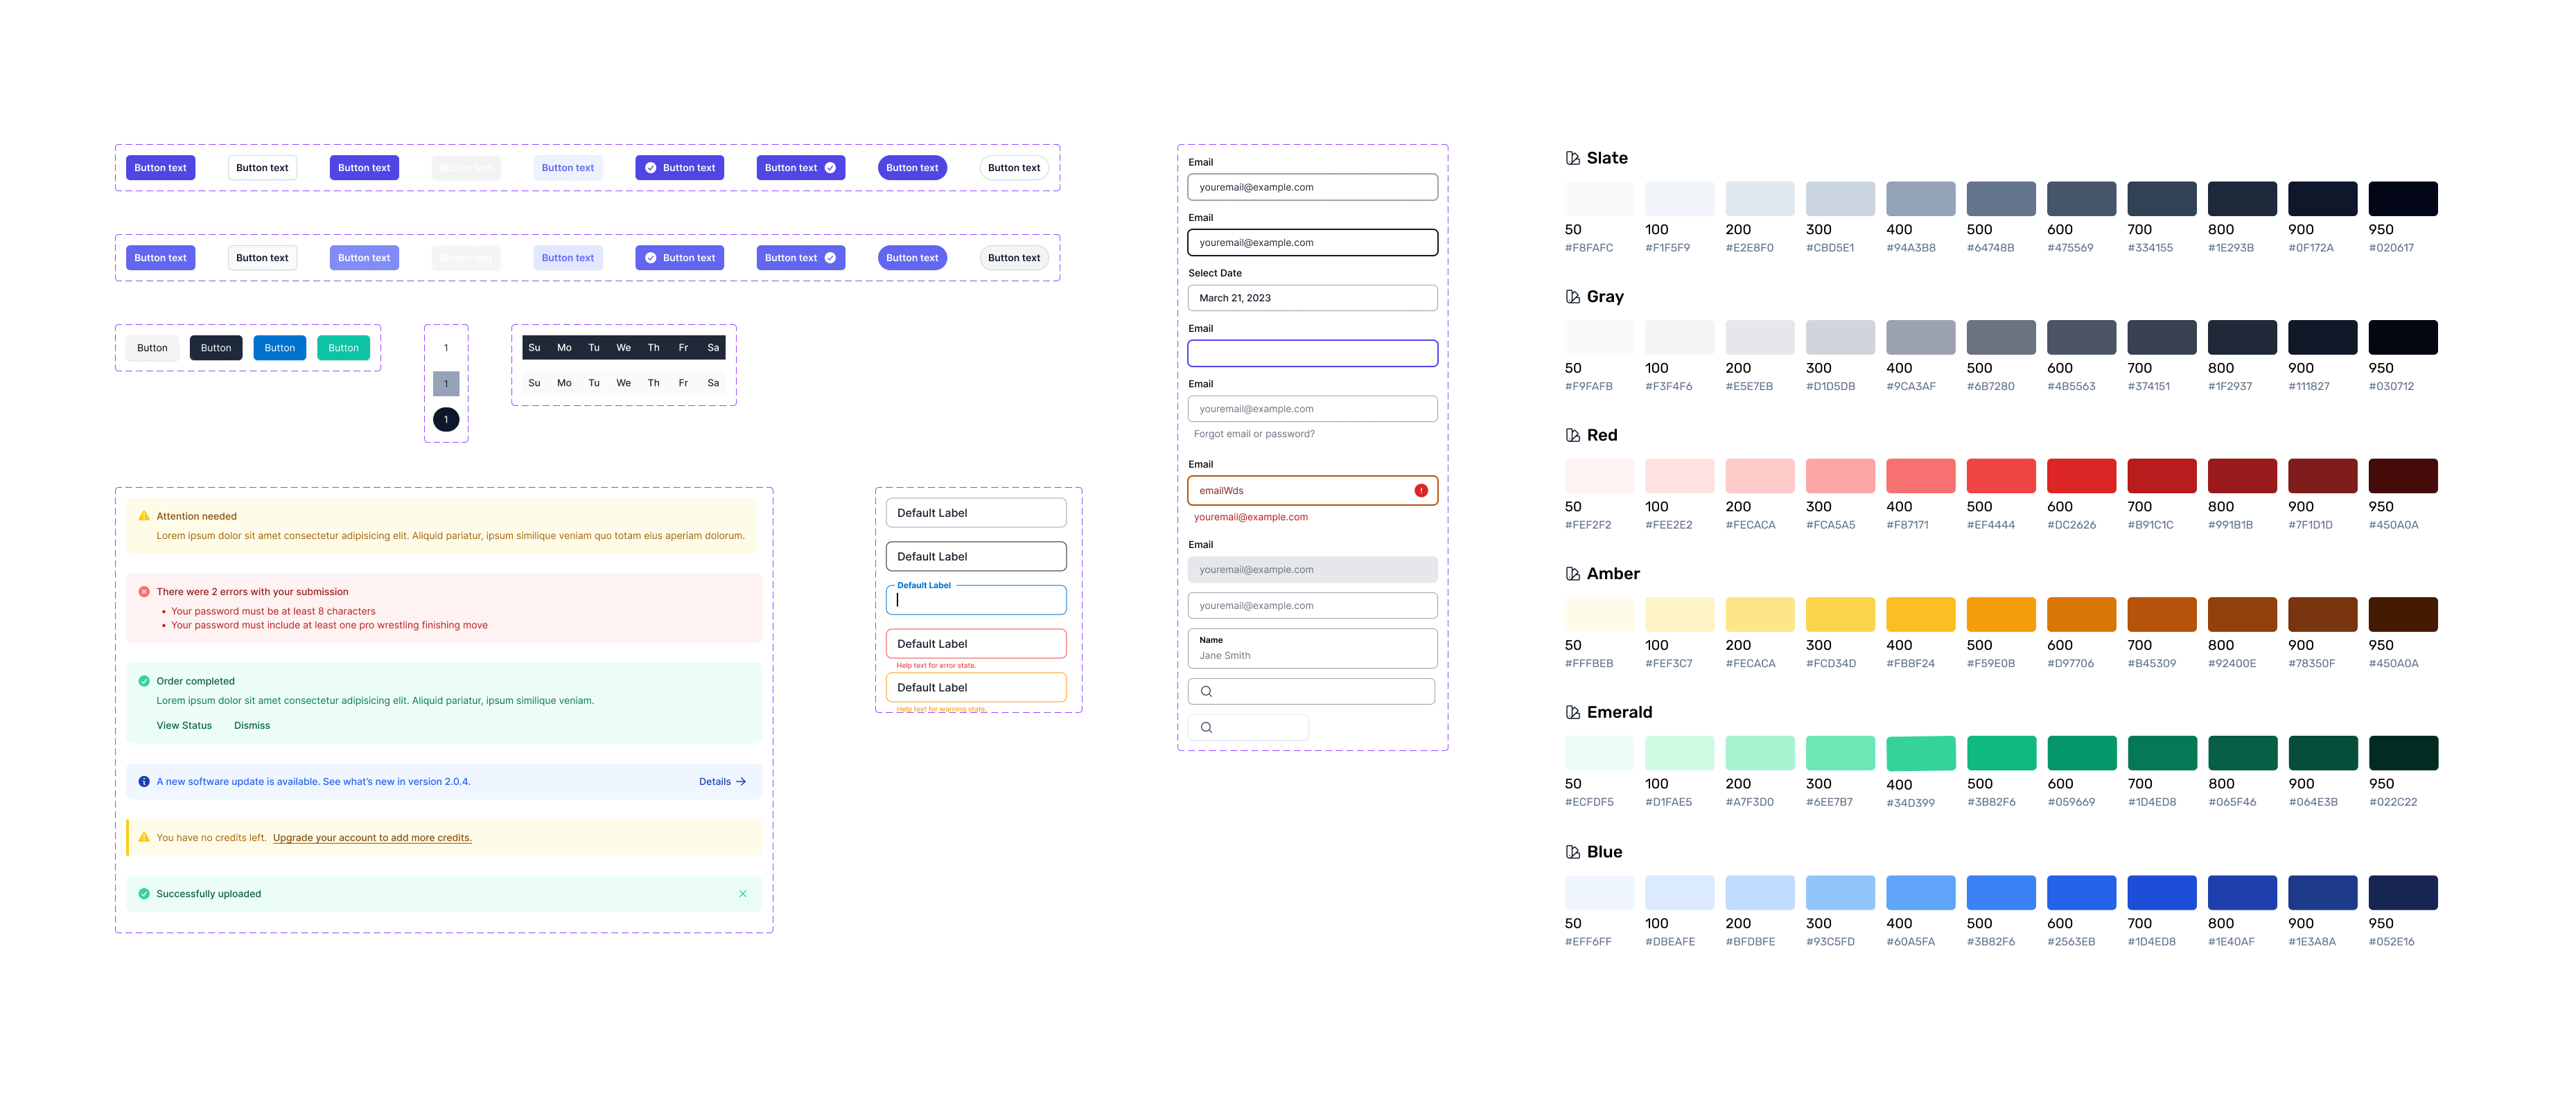
Elanco Component LibraryFoundational UI Elements, UI Framework, Corporate Branding, Style Guide
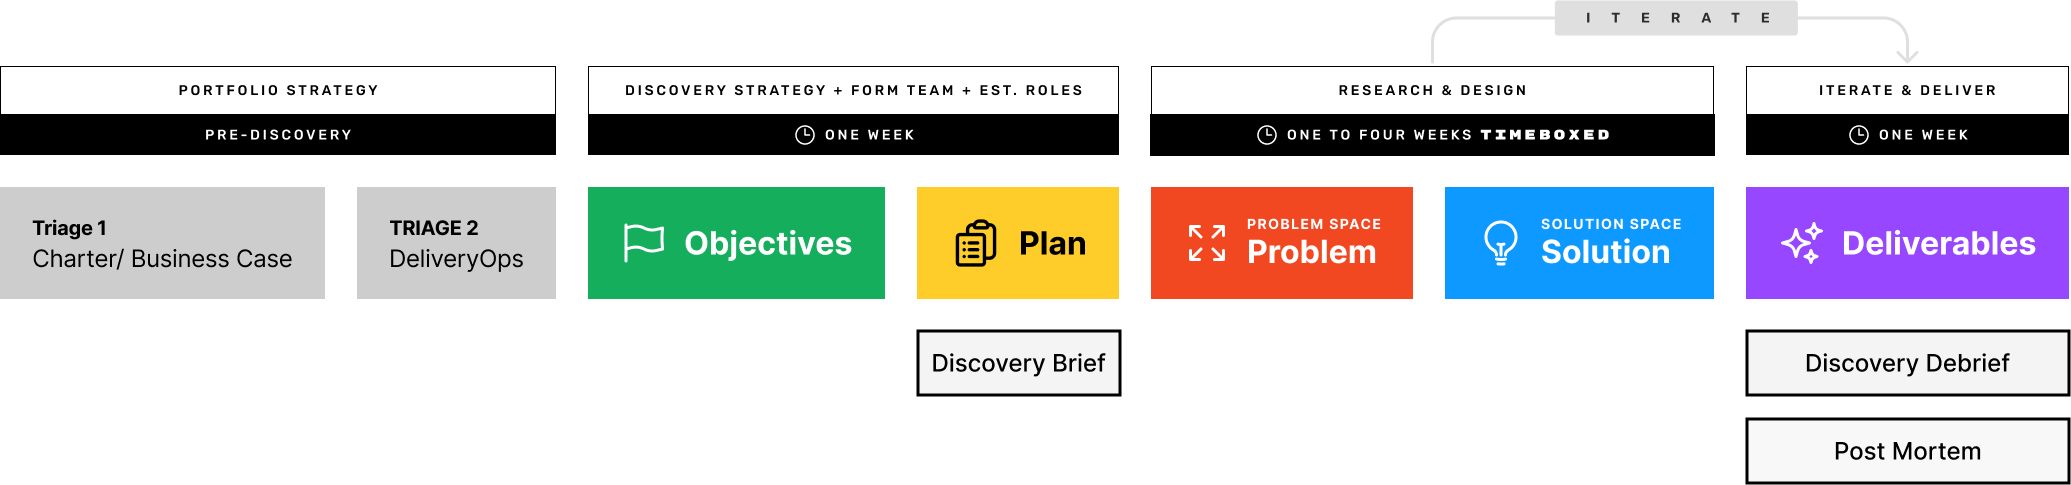
Continuous DiscoveryDiscovery, Generative, Evaluative Research, Problem / Solution Space, Process
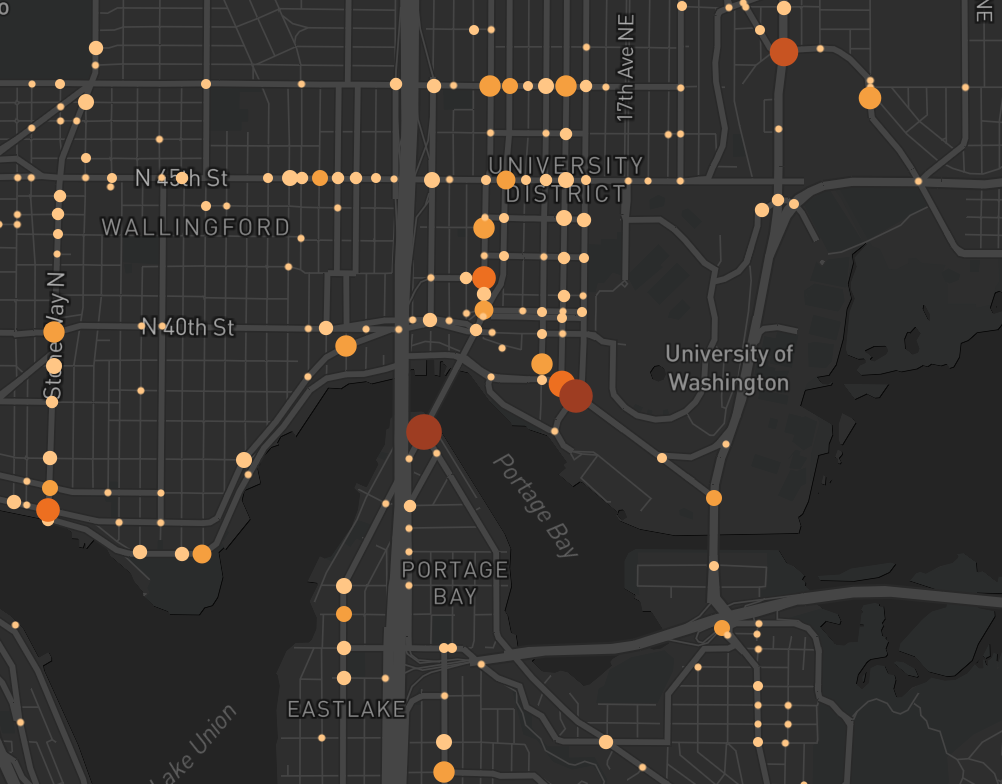
Cycle Safe SeattleData Visualization, Interaction Design, Data Storytelling
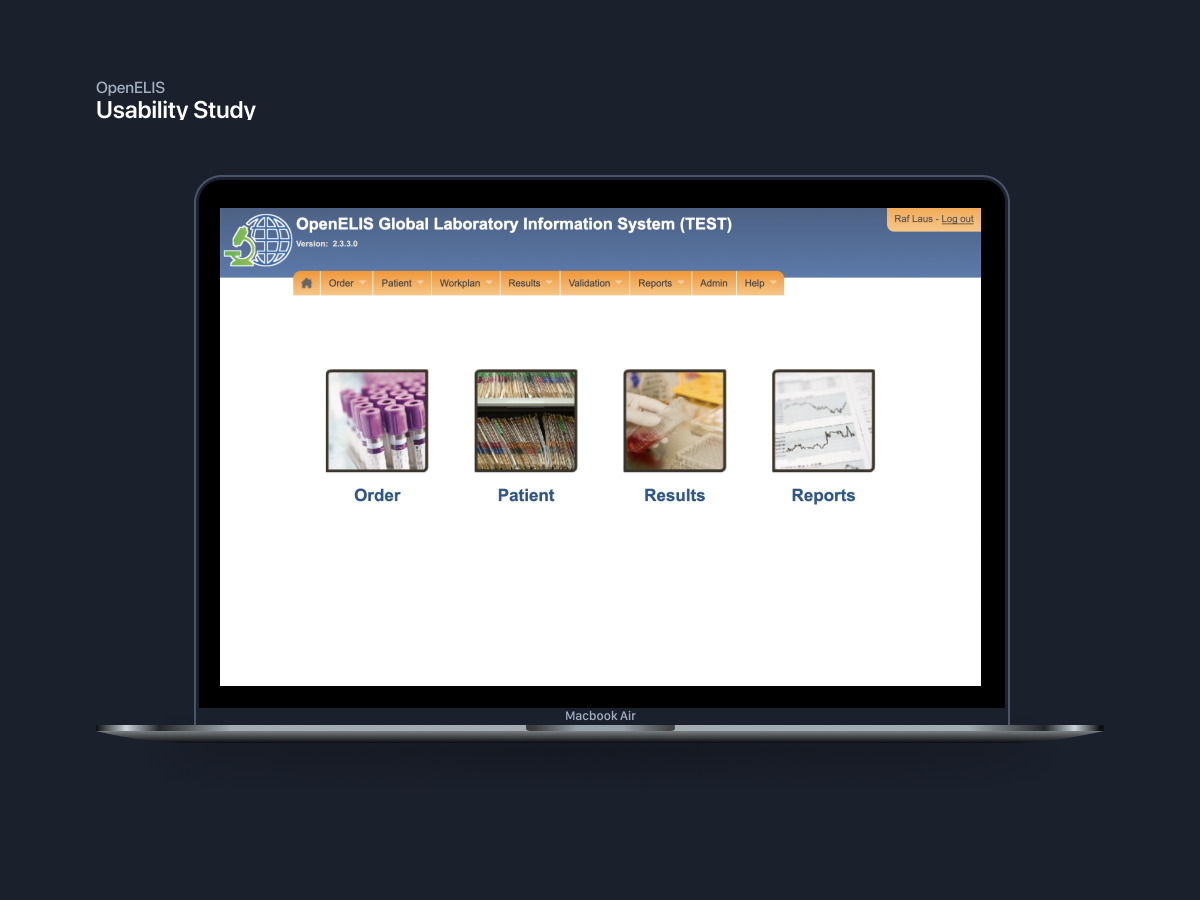
OpenELISUX Research, Usability Testing, Lab Management Information System

CISCO NetAcad 20Education, UX/UI, Contract, B2B

PayPalE-commerce, Enterprise, Payments
Raf Laus, Portfolio. https://rlaus.xyz. © 2024